-
Setup Source Control Using Git
Hello Students,
This is the first step before you start creating your project. The idea here is to get you ready to be a programer and developer of real world applications.
-
BitBucket
-
First step is to create account in Bitbucket.
It is free for creating projects and maintaining them.
-
Now Login to Bitbucket and send your id at confiablesolutions@gmail.com along with your project name.
-
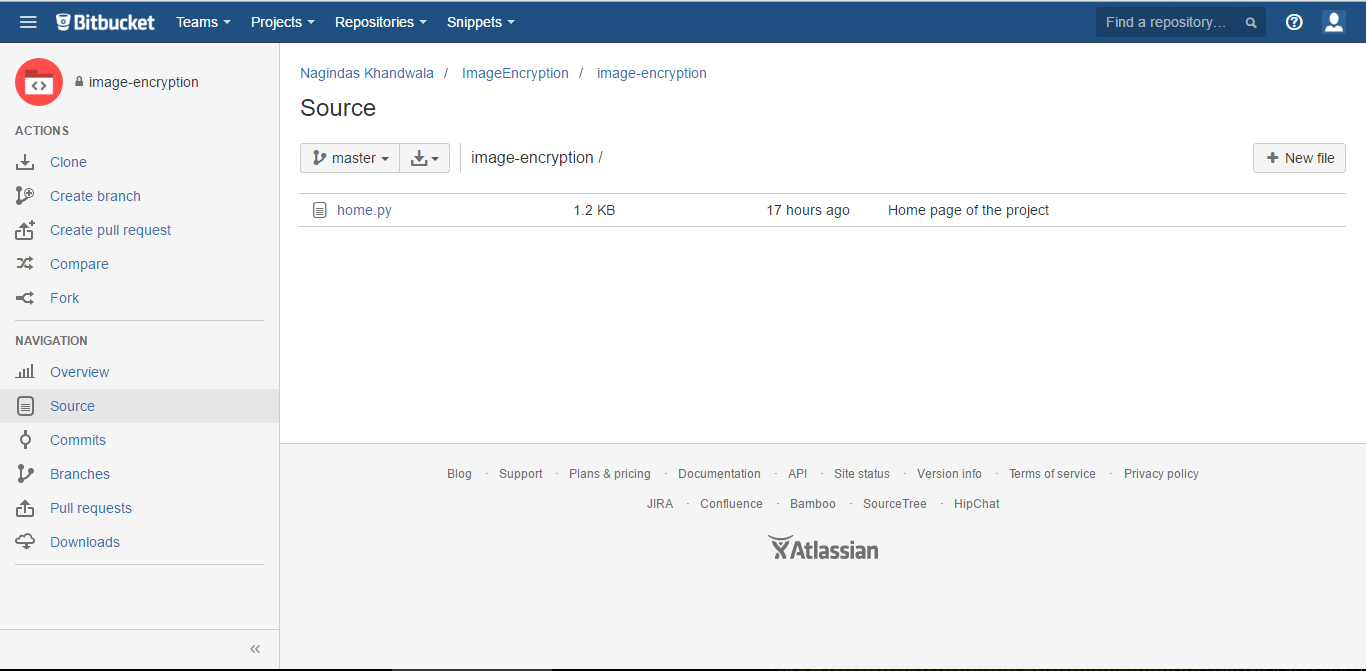
We can create your project repository and give access to it. You can access your project as shown below:
-
-
Source Tree
-
Download Source Tree and install it.
-
After installing source tree open it and follow below steps.
-
Source Tree Clone
-
Go to File > Clone/ New and see the below screen and enter data.
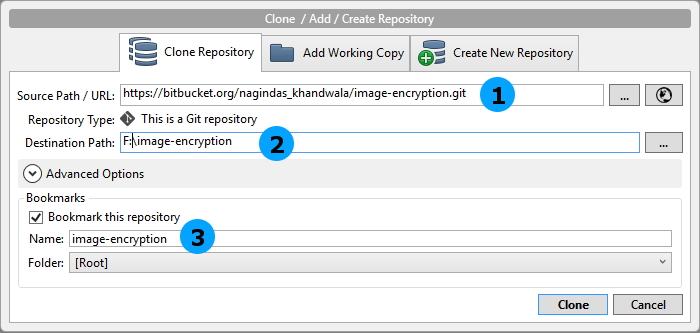
- 1. Enter the "https://bitbucket.org/nagindas_khandwala/image-encryption.git" (project name is : "image-encryption") in source Path/ URL.
- 2. Enter the destination path to save the project.
- 3. Enter the Project name.
- Click on "clone" and it will add project to your source tree and in the specified location.
- Go to your project location and you can edit or make your project.
- At the right corner in menu bar open terminal as shown above.
- After opening the terminal enter the following content:
- 1. git config user.name "Your Name"
- 2. git config user.email "Your Account id"
-
Source Tree Commit
- For saving changes of your project in bitbucket account click on "Commit" shown above.
- See the image and steps shown below for committing:
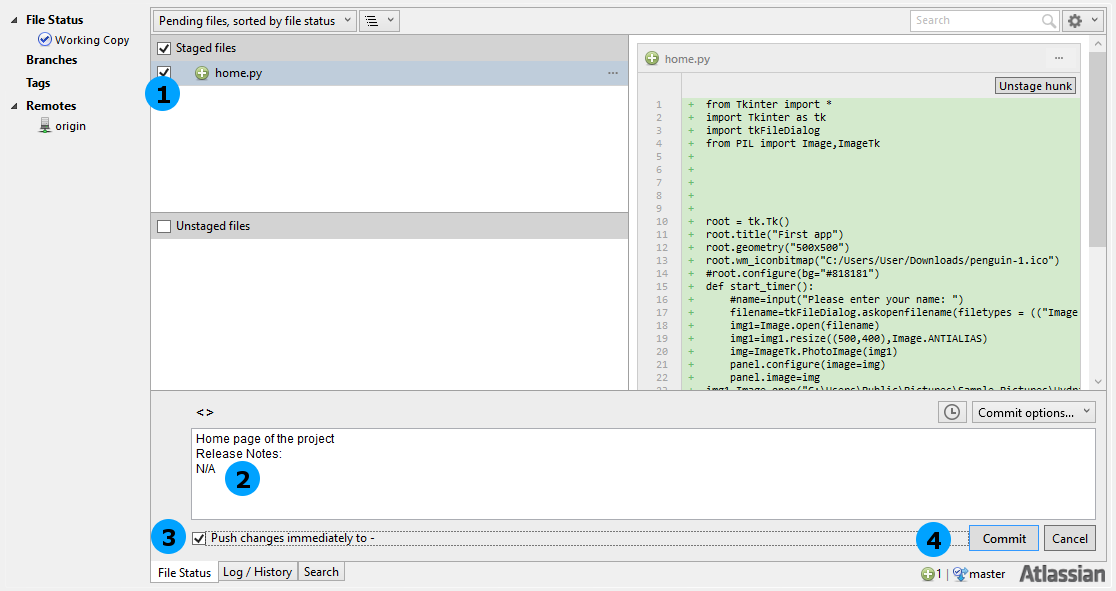
- 1. Check the files that want to be saved.
- 2. Write the comment what changes have been made.
- 3. Check the push checkbox to make changes saved in bitbucket.
- 4. Click on commit to commit the changes.
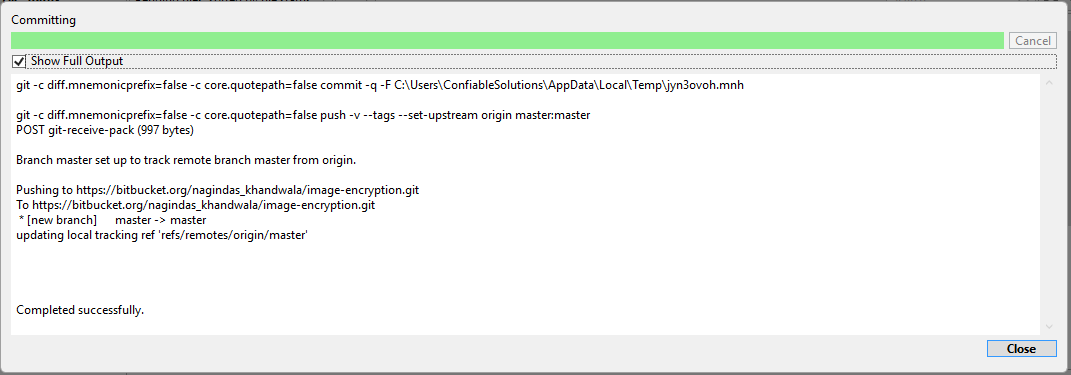
- You are done.
-
Final Step
- Go to Bitbucket and login and see the filed added or updated in the source tab.